
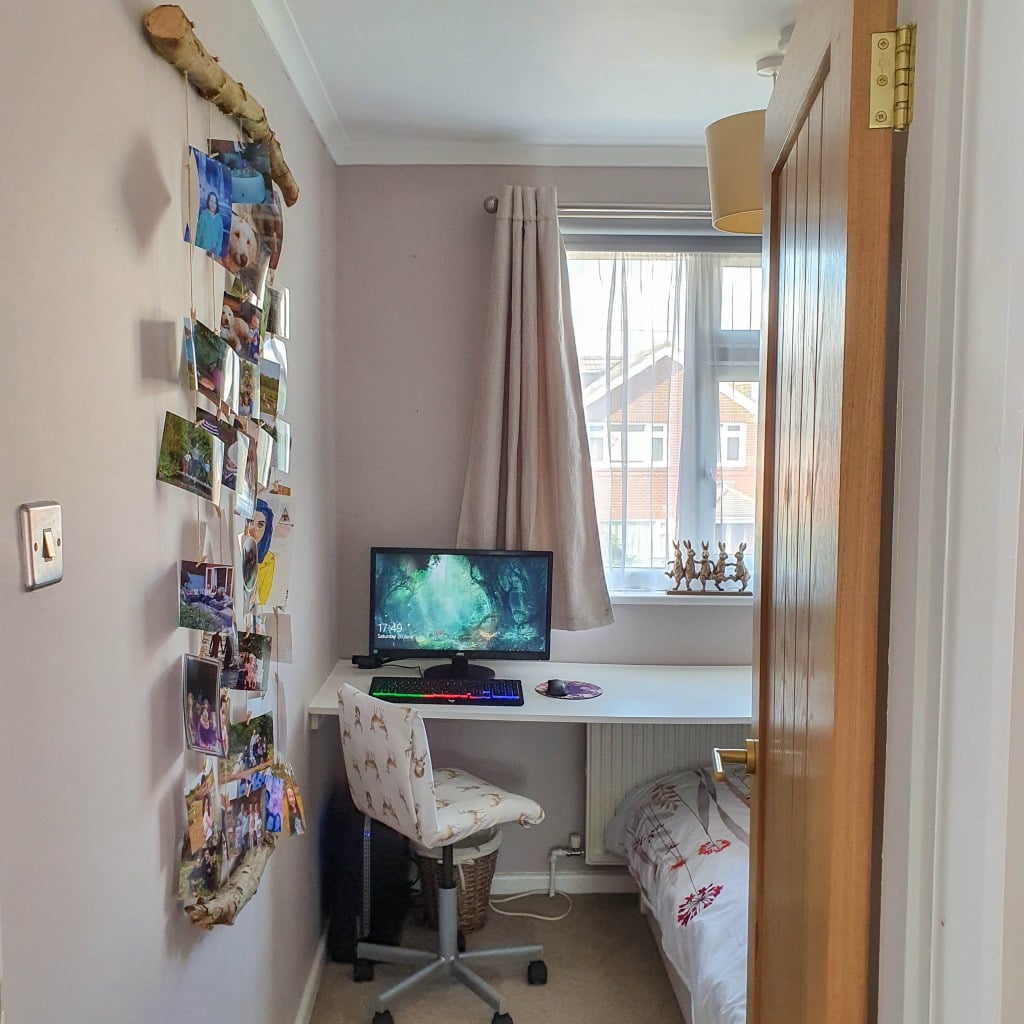
You may have spotted my daughter’s woodland wall art picture hanger in her new small bedroom and wondered how we made it?! Well, I’ll let you know how and how easy it was. All you need is three items……..

- Two Large Branches
- Smaller Branches
- Twine
How To Make A Woodland Wall Art Picture Hanger
Measure out where your holes are going to be to attach it to the wall.

Drill a small hole first, then a larger hole so the screw head goes into the wood and stays flat inside and less visible. These holes at the end are for you to attach it to the wall.

We used a piece of wood to keep the branch still and then we knew exactly where the holes should be and stayed straight.
You then need to screw through some small holes where the twine will thread through from top to bottom. Make them run equally along the branch.
Do this for both the large branches.

Then take your smaller branches and measure out about 3cm sections.


Drill a small hole in the middle of each of these sections.

Then cut them up with some garden pruners


Cut your twine up into lengths roughly the height you want the woodland wall art to be, and some extra for tieing off.

Take each of the little branches that you’ve already cut up and thread the twine through these.

Tieing them off at one end

Place your branch level up on the wall you want it hanging from, then pop the screwdriver through the hole you’ve made and mark the wall.

Drill the hole in the wall, add a wall plug, then attach the branch with a screw to the wall.

Thread the twine through the top holes

Then start attaching the twine to the bottom branch. You will need to do this in sections like the end ones first and tied off, so you can get the level correct and not have wonky or saggy twine.

Tie each one off underneath and trim up the excess twine.


That’s it’s, your done!
Where I Purchased My Photo Prints

I found Snapfish do a fab offer on their photo prints, where each month you get 50 prints by using their app, you just have to pay for the delivery. We added lots of my daughters favourite photos of family and friends, things she loves doing and places we’ve been.
But you could easily use this as a notice board too and keep any letters, notes and reminders on it.

My daughter is 11 years old, so be aware of the strings that are hanging down with younger children, also attaching it to the wall at the bottom will help stop the twine becoming loose or swinging.
Shop The Items

10 Comments
My Mother In Law hangs her Christmas cards on a branch from a garden each year. I love the idea of keeping it up all year round. The strings allow for far more things to be displayed too!
Yes I can imagine her homework list to do being hung on this too!!
What a fantastic way to display photos! It looks so effective and I love the woodland feel to it.
Thanks, my daughter loves the natural feeling to it
That’s a great idea. Erin would like this in her room.
Cute idea isn’t it, thanks
Ah this is really clever and unique! I’m always thinking of ways to display pictures as just frames can get a bit boring! Love it.
Something a bit different isn’t it. Thanks
I really love this! I love making things from nature. This would be lovely, but I can just imagine myself with a drill trying to hang it up! There would properly be no wall left LOL
Lol! Thanks, I’m glad you like the idea!