
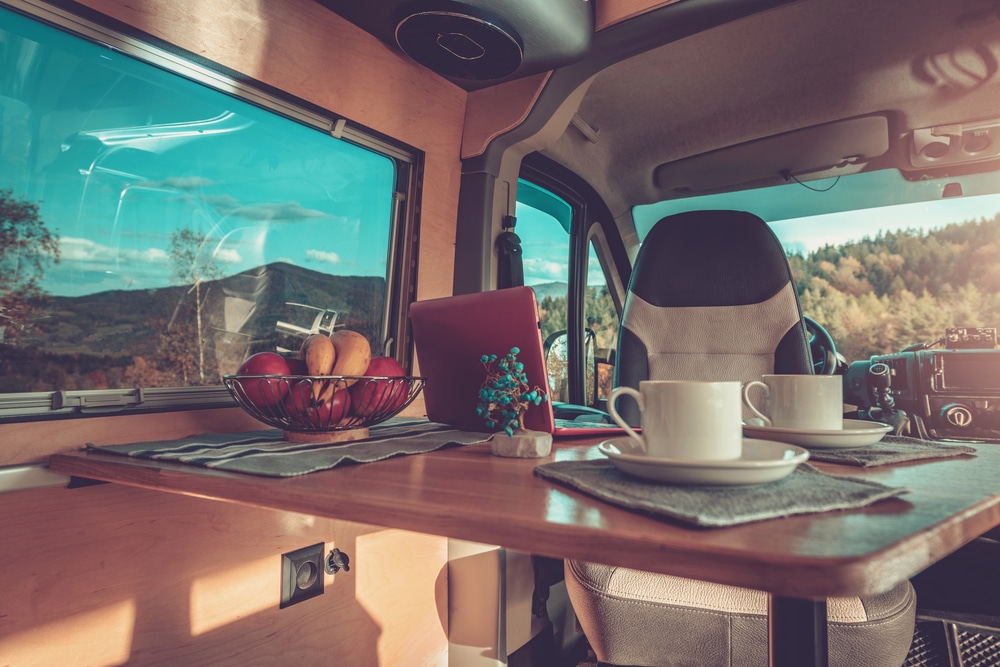
Light commercial vehicle numbers have hit a record high, with more than 5.1 million units operating on UK roads. Medium and large panel vans dominate the fleet, led by best-sellers like the Ford Transit Custom, Mercedes-Benz Sprinter, and Volkswagen Transporter. Not incidentally, these same versatile platforms have become the go-to choices for custom and coachbuilt campervan conversions.
Part of the popularity is that the vehicles are blank slates for avid DIY campervan builders. Empty metal cargo shells provide the freedom to customise everything from living layouts and custom cabinetry to electrical systems and insulation, using readily available camper conversion kits.
Unlike bulky coachbuilt motorhomes, a panel van’s compact footprint delivers car-like driving dynamics, making it easy to navigate narrow roads, tight car parks, and remote campsites. Most importantly, DIY builds are tens of thousands cheaper compared to buying a luxury or custom-built rig, while still allowing builders to tailor every detail to personal needs.
Step 1: Planning and Budgeting
Defining and arranging usable space determines daily comfort, safety and functionality. Consider proper placement of beds, kitchen cabinetry and seating while maximising storage space. As a general rule, isolate cooking zones from sleeping areas to ensure proper ventilation and prevent fire risks. And adapt layouts to travel needs, such as choosing between fixed beds vs convertible dinettes while ensuring larger and heavier items such as water tanks and batteries maintain proper weight distribution.
Also set a realistic budget. This can range from anywhere between £3000 for basic essentials to well over £30000 with custom cabinetry, rooftop air-conditioning and full solar setups. Lastly, ensure kitted and fully converted vans do not exceed 3.500 kilogram vehicle legal weight limits.
Step 2: Buying and Prepping the Panel Van
Popular models like the larger Fiat Ducato and Peugeot Boxer, and mid-sized Sprinter and Transporter are prime candidates for campervan conversions. Inspect used vehicles for the condition of the engine and mechanicals, verify they have full service histories and run an independent history check to rule out outstanding finance, hidden write-off status or mileage discrepancy. Check the chassis for rust, the panels and roof for cracks and corrosion and whether vehicles meet current Euro6 emissions requirements.
Once purchased, start stripping out the interior. Remove any commercial racking, factory bulkheads and floor lining. Vacuum and scrub the metal bed floors, seal exposed areas with steel-reinforced epoxy putty or polyurethane sealers and treat metal with rust primers and stabilisers.
Step 3: Cutting Windows and Skylights
Maximise natural interior light with careful window placement. Tape the designated exterior area with painter’s tape, create a cardboard template and trace this to the exterior and interior. Create pilot holes in each of the four corners and use a jigsaw to connect the corner holes and cut out the panel. Deburr and smooth sharp edges with a file or sander, treat the metal for rust and add protective rubber trim if this suits the window type. Repeat the process for roof skylights.
Step 4: Soundproofing and Insulation
Soundproofing reduces resonance from rattling panels, greatly reduces exterior road noise and absorbs airborne sounds. This is done by applying butyl-based sound-deadening mats, supplied with self-adhesive backing that easily conforms and sticks to metal panelling.
To regulate internal temperatures and control moisture levels, choose packaged camper conversion kits with insulative lining. The thick, closed-cell foam design keeps the interior warm in winter and cool in summer, while also preventing condensation. To fully lock out moisture, cover both layers with a specialised vapour barrier or mass loaded vinyl.
Step 5: Electrics and Plumbing
Campervan electrics are often split into two systems – a 240v mains hook-up (consisting of a mains lead, an inlet socket, consumer unit and internal outlet sockets) and a 12V system based around a 12V deep-cycle battery which powers the lighting, fans and fridges. Batteries can be charged from the vehicle’s alternator using a compatible DC_DC, via solar panels or external generators.
Prioritise safety during installation. Run all cabling through flexible conduit to protect against vibrations and sharp metal panel edges. Additionally, every circuit requires proper fusing sized precisely to the wire gauge. Keep high-amperage AC wiring strictly separated from low-voltage DC lines, and ensure the entire system grounds safely to the van’s chassis.
For comfort, convenience and off-road independence, carefully plan the camper’s plumbing. Systems usually consist of freshwater tanks that supply water for taps and showers and greywater tanks to collect wastewater. Freshwater tanks are mounted internally, often under the floor to prevent freezing, with greywater tanks bolted under the chassis for easier drainage and to save space.
Pressurise the system with a 12v water pump, and rule out leaks and pressure drops with flexible PEX piping or food-grade hoses. Add accumulator tanks for consistent water flow and reduced pump noise, and consider filtering kits for cleaner drinking water and to protect pumps from debris and contaminants.
For gas plumbing and fixed gas hobs, have a certified engineer handle or sign off on the installation.
Step 6: Panelling and Interior Lining
After installing insulation and wiring, builders secure a thick plywood base directly to the van’s metal ribs using self-tapping screws. This creates a durable flat surface for mounting furniture and cabinetry. Cover the plywood with timber cladding for a cosy cabin feel and line this with stretch carpeting. Combined, the materials provide structural support, evenly distribute weight and act as a second insulative layer.
Step 7: Furniture and Living Space
Modular furniture maximises living space. Typically, conversion layouts feature convertible dinette beds, allowing a single area to serve as a dining room by day and a bedroom by night. Platform beds are another popular option, raising the sleeping area to create a large storage space.
Kitchens save space by using slimline appliances with 450mm widths, and most furniture pieces do double duty – either maximising storage when not in use or moving out of the way to improve access. To optimise safety and prevent loosening, secure all cabinets and furniture with durable fixings to floor and wall panelling with metal brackets and matching hardware.
While not a legal requirement, campervan builders can reclassify their builds into motor caravans with the DVLA. Notifying insurers, however, is mandatory, and includes listing all modifications and the number of permanent seats. The vehicle must also remain roadworthy, meet weight and number-plate visibility standards, and pass an MOT.