

From very early on in our extension plans did we decide we wanted Solid Wood Flooring, it’s so warm looking and can last years and years. We were super excited to have it, but the quote came back much higher than expected! So we looked into laying it ourselves. Never did we think we would give it a go laying Solid Wood Flooring ourselves, but we knew if we wanted it in our new kitchen dining room, then we would have to lay the Solid Wood flooring ourselves!
So I thought I would put together all our DIY tips on laying solid wood flooring, what we learnt and any tips we found worked really well for us. I will say now, we’re not experts!! This was the first time we’ve laid solid wood flooring, we have only ever laid laminate flooring before!
Our DIY Tips On Laying Solid Wood Flooring

Making Sure The Floor Is Level
First thing first you need a level floor. Free of screw heads sticking up and uneven changes. We had 3 different types of flooring under ours, so we needed to make sure each one was level together and didn’t give you a ridge between each one.

Open In The Room It’s Going In
When your flooring is delivered it will come all sealed up. If it’s like ours, then it will be delivered on a pallet and left on the driveway! So be aware you need to bring it in as soon as you can. Then place it in the room it’s going to be laid in, and open up the ends so the wood can breathe.

Unbox
When it came to laying the wood flooring, we opened up various different boxes and removed the boards and laid them out in size order. This meant that a few of the boxes we’re mixed together.

You can see here how the different boards are different colours, you don’t want to use the same boards from the same pack next to each other all the time. Otherwise your end up with blocks of colour, and not dotted around the room.
Remove Skirting
Remove the skirting from the room before you lay the flooring. This means you can leave your expansion gap between the flooring and the wall, but cover it over with the skirting. It then leaves a lovely finished look at the edging of the flooring.

Self Adhesive Underlay
We went around in circles about what underlay to use, or how to stick the boards to the original floor. But we decided as we’ve never laid flooring before, and it looked more simple. We would go for self-adhesive underlay.
It worked really well. We laid a vapour barrier to stop moisture coming up underneath the solid wood flooring. Cutting it to size, and sticking down to the floor. This helps stop the moisture ruining the wood floor.

Then you lay the self-adhesive underlay down. You need to pull back the corner of the underlay to reveal the sticky side. It’s very very sticky, so be aware as soon as the wood touches it, it will stick to it! Once you figure out the process it was really easy to use.
Make sure you lay the boards down at an angle, pull back the cover and push the wood flooring down onto it.

Planning Layout and Doorways
Planning ahead is a must when it comes to laying solid wood flooring. You need to get measuring and planning ahead, see where the boards will lay, see where they come when you get to the doorways. You don’t want to get to a corner, or edge and end up with a tiny bit of flooring board to cut. If need be, make the first board you lay smaller, as this won’t be noticed.
As we had different length boards, we got enough boards out for a few lines. We worked out where each board would go, making sure the lengths didn’t clash with each other, and no seams would line up together.
This also allowed us to see the colours, making sure the grains and colours were nicely mixed up.

We then numbered each one in order underneath, so we could lay them in the correct places.

Tools For The Job
Getting the correct tools for the job is a must. We invested in a mitre saw to cut the boards neatly and quickly. We really couldn’t have done it without this amazing tool! We have now used it for so many other jobs around the house, so well worth it for us.

First Row Of Boards
Getting your first row of boards in place is the key to getting it right. According to the Builder Create website, you need to keep the expansion gap between the boards and the wall. We used little plastic spacers to do this, and a laser level. Once you have this first row in, your line should stay straight!

Take Your Time
Take your time. This isn’t a job you can rush! We were doing this once the builders went home from working on the job during the day. Adding a bit each time, but it meant we’re making sure we were doing it correctly. It’s not something you can just pull back up in a bit you see you went wrong!

We ran out of time before Christmas came to finish off the hallway, so we added a bit of red tape along the edge to make sure people didn’t trip up it!

Click Seal
A tool of the job we did use was Click Seal, it’s a sealant that we put in between each and every joint before the next board was placed on. We felt it was worth adding this in to protect the gaps from spillages going down between them.
This was the only photo I got of it! You can spot it on the floor, next to the dog!

Edging
This is a little cheap tip we did to cut the boards around the stairs!


Check Return Policy
When ordering your solid wood flooring check the returns policy. We over-ordered on the boards and had quite a few leftovers once we had finished. I was able to tape the packaging back up and they came to collect them.
Oil Afterwards
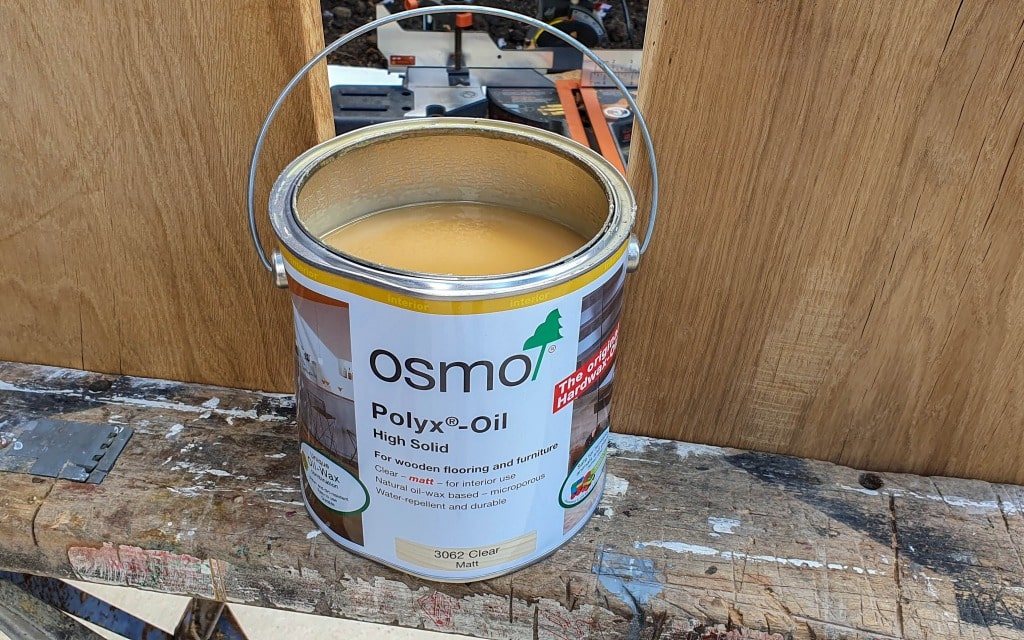
We oiled our floor again once it was laid and it’s made such a difference to the flooring. Well worth finding out what oil your floor has been oiled with and adding another coat on.

Finished!
I hope you found these DIY tips for laying solid wood flooring helpful. We’re over the moon with our flooring, and very proud that we managed to lay it ourselves. It saved us so much money, and it meant we were able to have this beautiful flooring.

14 Comments
Oh wow I love the way this flooring looks against your high skirting boards, which I’m also obsessed about too. Looks amazing
Thank you, yes I wanted to go for higher ones as I think it looks lovely too.
Good tip on checking the returns policy, as always handy to know as you don’t want to much waste that has cost a small fortune x
I was so shocked that we could easily return what we hadn’t used, saved us a lot of money
You did a wonderful job! Honestly, I won’t be able to do that myself. I am pretty handy with tools but with big projects like that, I leave them up to the professionals.
Ah well done on giving most things a go though, thank you!
What a difference a floor makes! These are great tips. We have ours going in towards the end of the year after some other bits of works. I can’t wait
Oh exciting!!
What a wonderful GIY post and the pictures and turnout are beautiful! I am lucky in that my husband does this for a living so all things carpentry are good to go in my home. This is a wonderful post for anyone looking to DIY and I think there is nothing netter than doing it yourself.
Oh very handy having him then!
Solid wood flooring is a great investment. I give you a lot of credit for installing yourself…great tips for the DIYers!
Thank you very much
Thanks for sharing the tips on how to do this. I thought it is a tough project that not able to do it DIY at home. Glad to find out this tip and will try to change ours when our wooden floor get old.
Yes I was surprised by it, a lot of planning made it easier